Jeddah Photography Walk: Plan Subjects, Light and Etiquette
A Jeddah photography walk benefits from a clear subject and enough time in one area. Al-Balad offers street and architectural details, while the coast offers open horizons. Choose the story you want to photograph before adding locations.
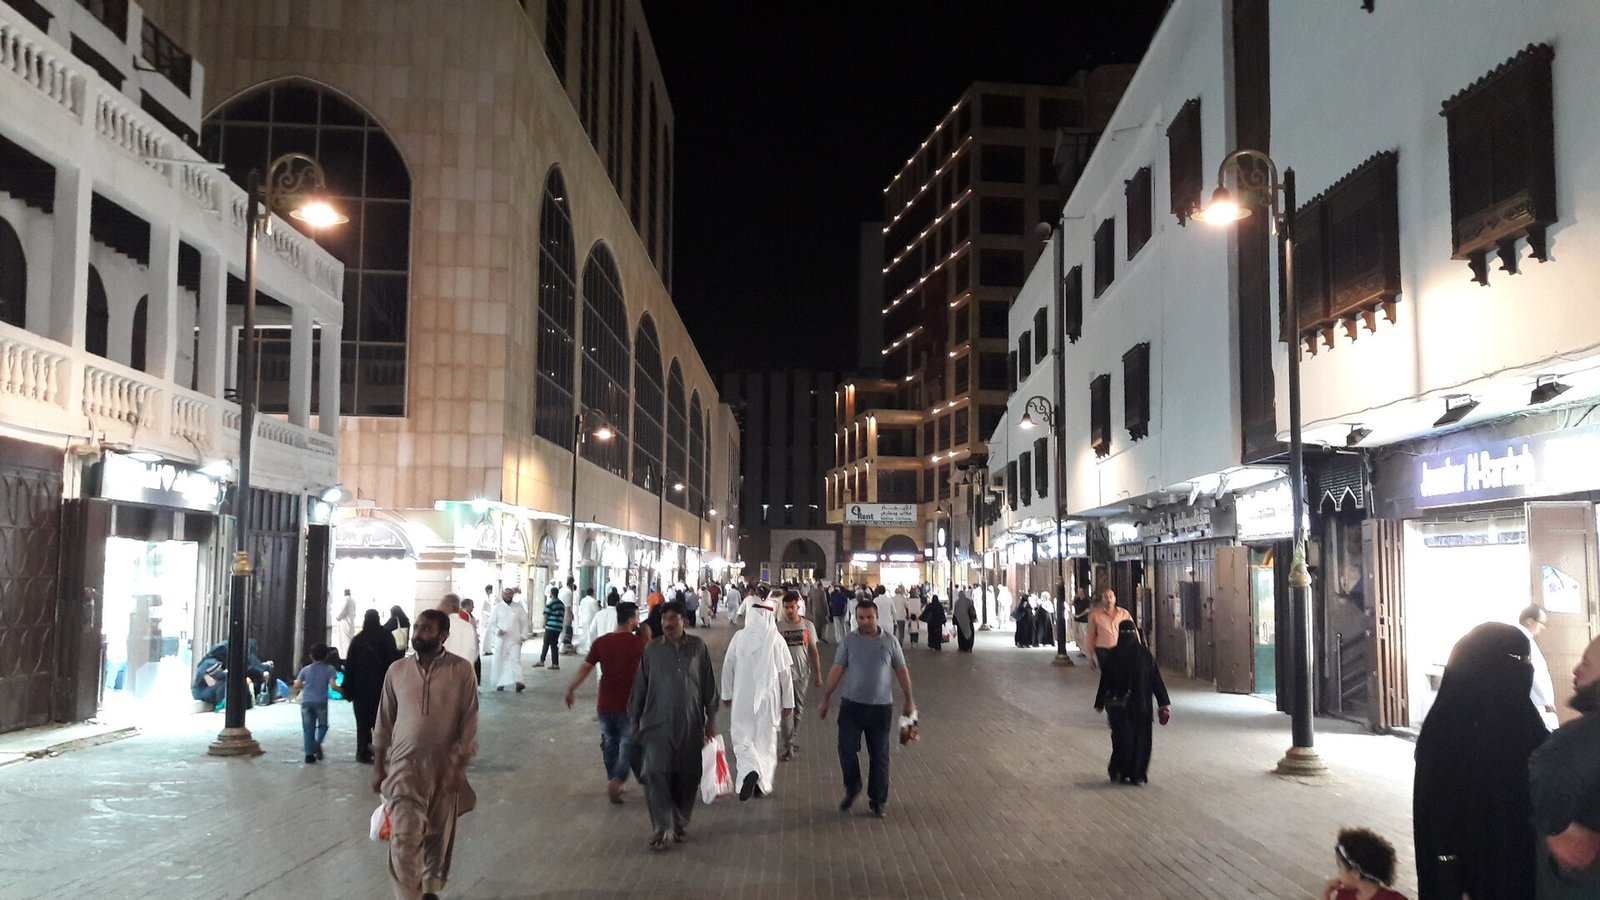
Build a visual sequence in Al-Balad
Start with an establishing view, then photograph a building frontage and a detail such as timber or a doorway. This creates a connected set rather than unrelated images. Walk a little farther to change your angle instead of relying only on zoom.
Ask a guide to explain what you are looking at so your captions have context. Avoid presenting a guess about a building's age or function as a verified historical fact.
Leave room for the light
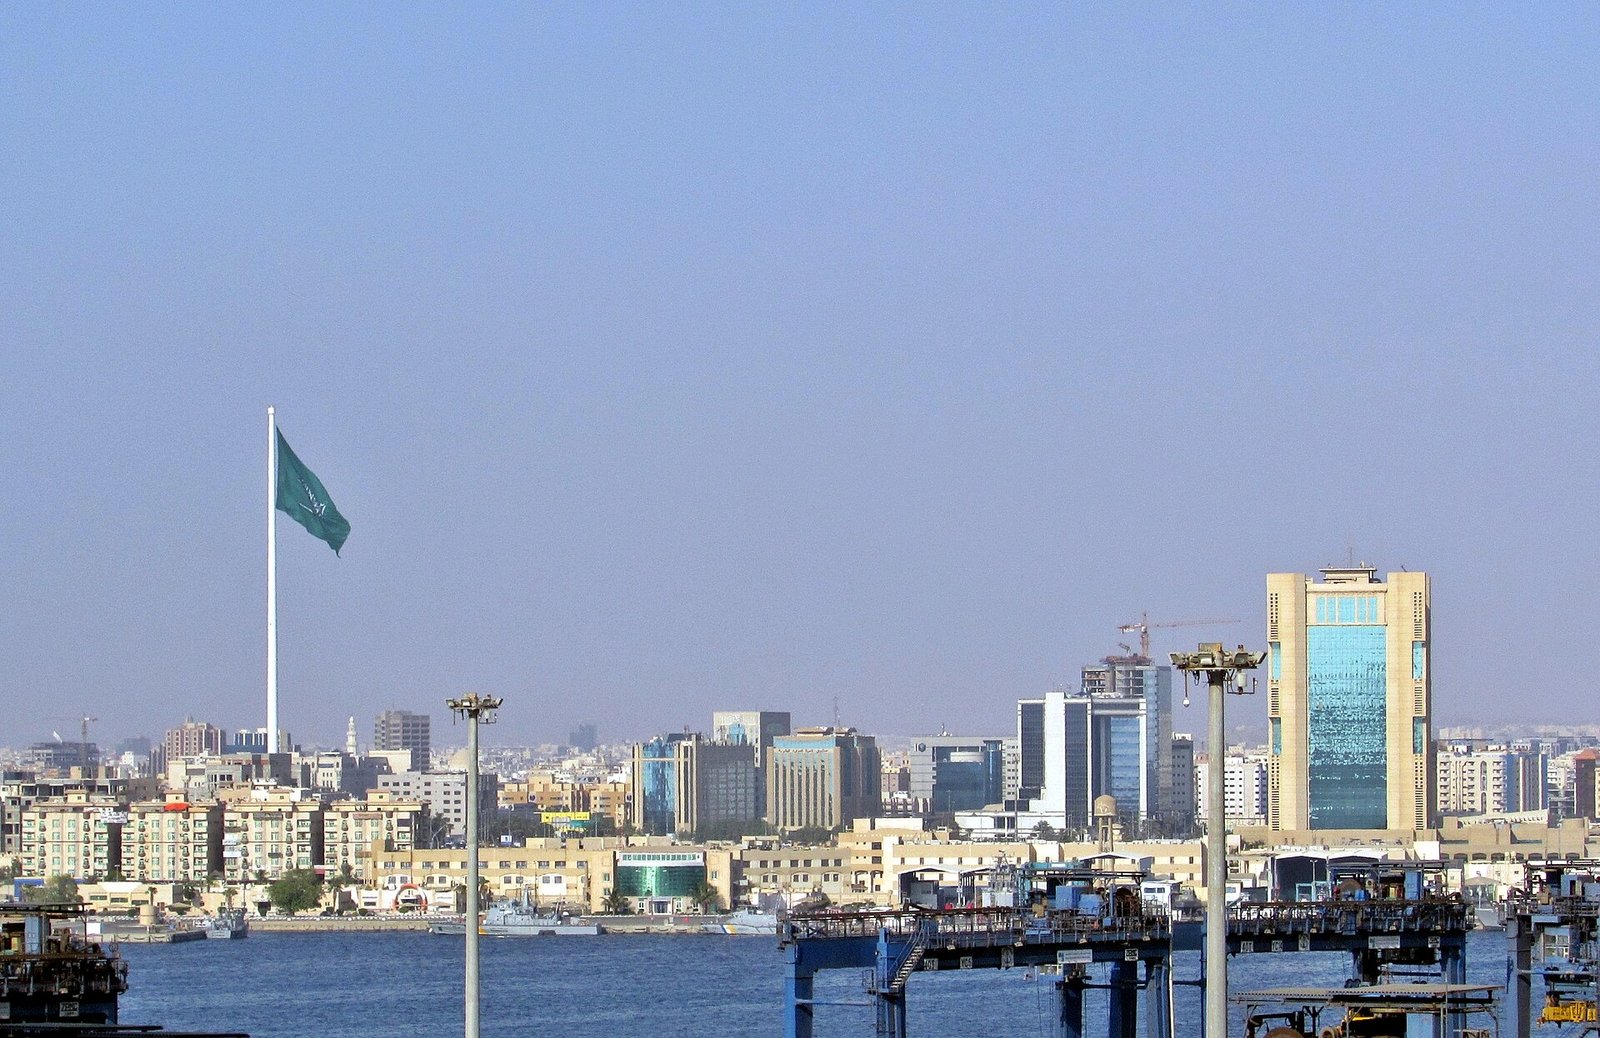
Check the local sunset time and current weather before fixing a coastal session. Allow time to arrive, find a suitable position and photograph the changing conditions. King Fahd's Fountain can be an optional subject if operation is confirmed; do not make the whole plan depend on it.
Carry only useful equipment
A phone or a practical camera setup, spare power and a light bag make walking easier. Protect equipment from salt spray and dust. Ask before using a tripod or larger setup in a venue or crowded passage.
Separate access from photographic permission
Permission to join a tour does not automatically include permission for commercial shooting, private interiors or identifiable portraits. Check each venue's rules and ask people before photographing them. Do not enter restoration areas to improve a composition.
Discuss the service you need
Adel's site describes him as both a guide and a photographer. Tell him whether you want help planning your own images or a separately agreed portrait service. Confirm the outputs, costs and permissions if photography production is requested; it is not automatically included in a guided walk.
Write a shot list before choosing the route
Select a small story you can photograph in one area, such as timber and shade in Al-Balad, or people and open space beside the sea, with consent for recognisable subjects. Write down five images to bring back: an opening view, a full facade, an architectural detail, a building’s relationship to the lane and a closing frame. Knowing what the sequence lacks makes it easier to decide whether to stay or move.
For locations to compare, use the Jeddah photogenic landmarks guide. This walk focuses on working at the location: when to arrive, what to photograph and how to allow time for a second angle. A clear subject is more useful than repeating a long landmark list.
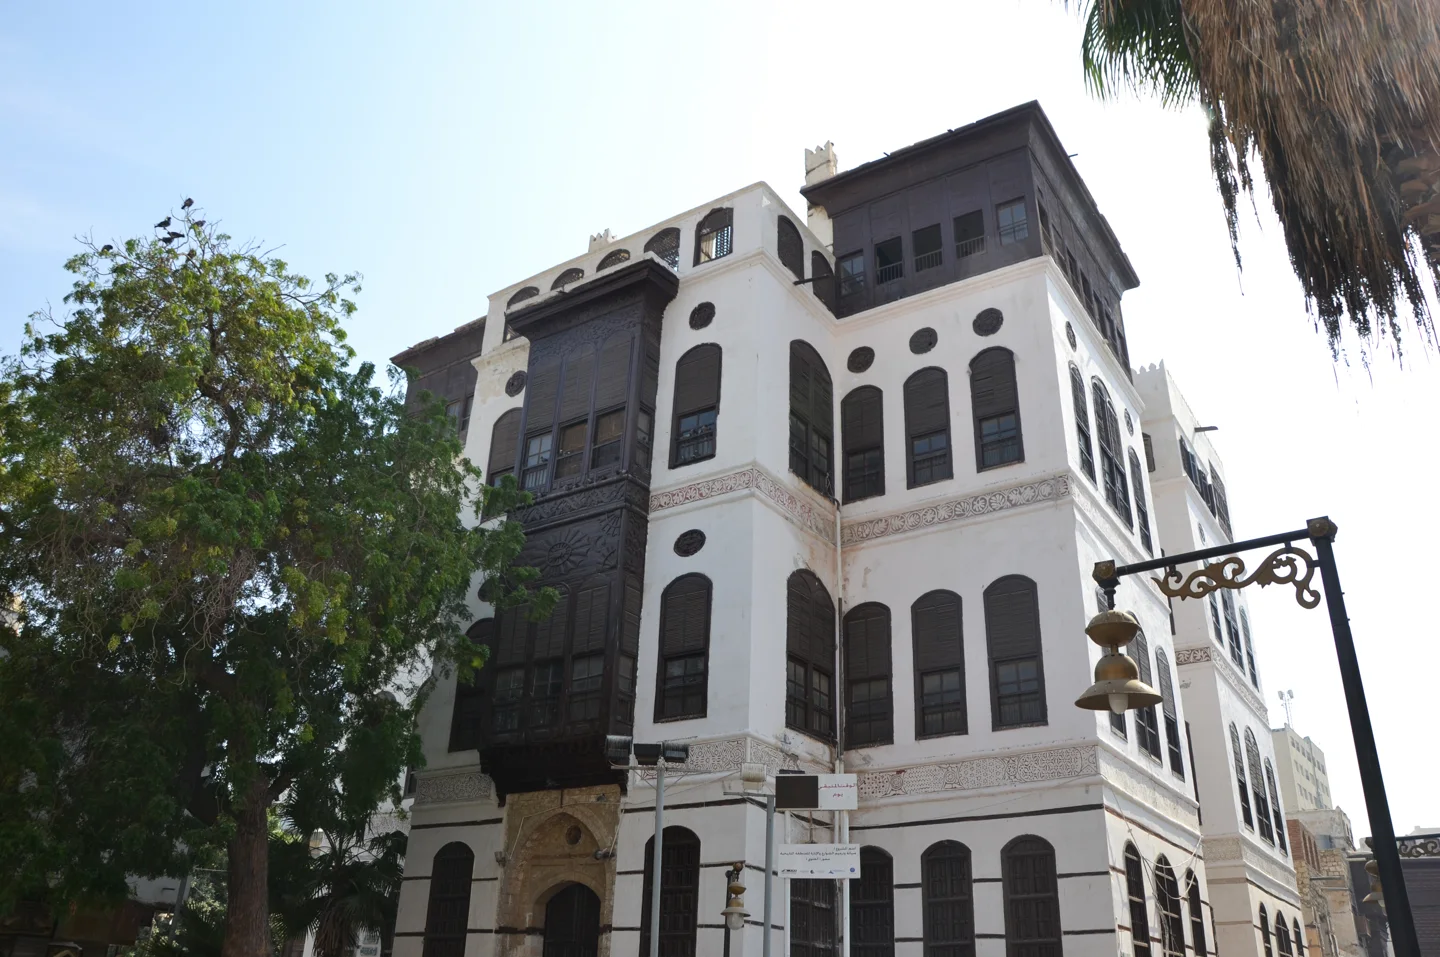
An architectural exercise around Nassif House
Begin with a view that establishes the building and its surroundings from a permitted pedestrian position. Follow it with a facade or part of one, then a detail such as a window or material. Give each photograph a different purpose. If you cannot step back for a complete facade without entering traffic, choose a deliberate partial view instead of taking a risk for a wider frame.
Notice how lines appear when you point the camera upwards. Try a more level position and inspect the frame edges; a balanced section may communicate more clearly than forcing the whole building into one shot. Moving a small distance can also remove a distracting background element. Keep the lens away from fragile features and stay outside closed areas.
Distribute time around changing light
For Al-Balad facades, observe the actual light and shade when you arrive, then choose the lane and frontage that suit the conditions. One time of day does not illuminate every facade in the same way. Work on the scene, review your images and try an alternative rather than leaving immediately after the first exposure.
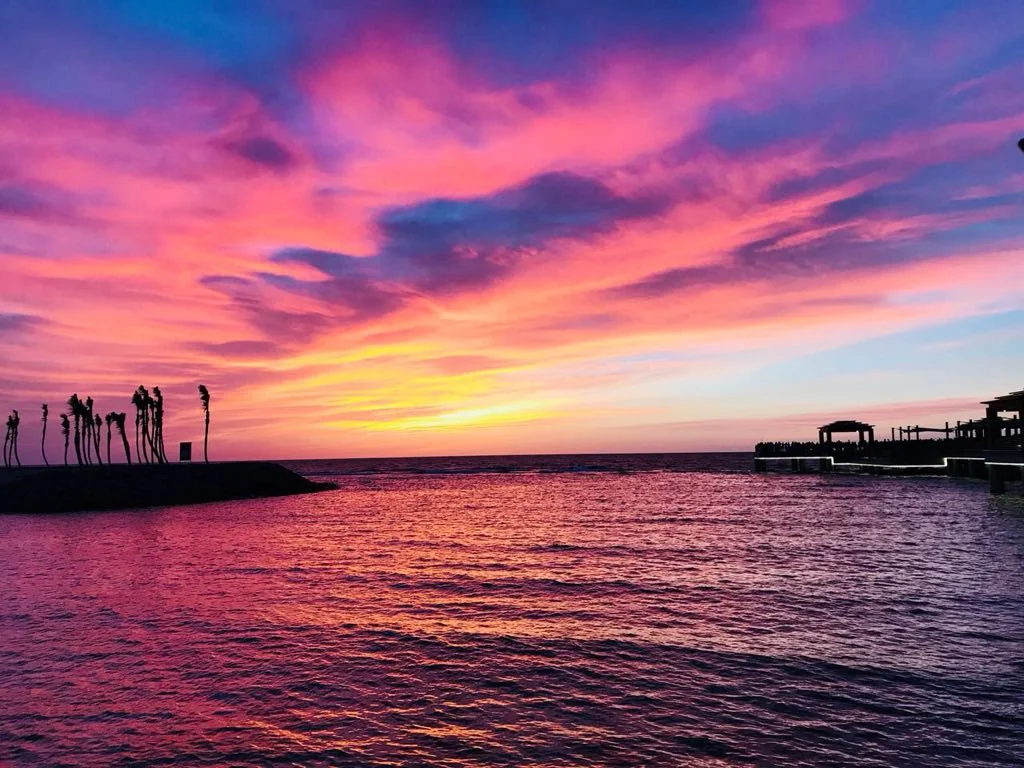
At the coast, select one position before your target period and test the composition before the light changes. Make a frame that establishes the sky and water, then try a horizon placement that gives priority to one of them. The balance between sky and artificial light can change after sunset, but weather and visibility affect the result. A photograph from an earlier date does not promise a particular colour on your outing.
Let settings follow the photograph you want
A fixed setting cannot suit every camera and scene. Aperture, shutter speed and ISO work together; shutter speed affects the recording of movement, while aperture affects depth of field. Where people are moving, inspect how their movement appears in a test shot. For architectural detail, check focus and camera shake before assuming the lens is the problem.
In low light, take a test image and enlarge an important area on the screen. Change what addresses the visible problem, whether movement, shake or exposure, rather than altering several settings without understanding the effect. Phone users still benefit from a clean lens, a steady device and careful review. Automatic processing does not choose a useful background or moment for you.
Pack for the walk you will actually take
Begin with equipment you know and a lens or focal-length range that matches your subject. Check battery power and storage before leaving the hotel, and carry suitable spare power. Keep a cleaning cloth and simple spray protection in the bag, and close it while moving near the sea. Extra lenses do not compensate for time lost changing them or fatigue from carrying them.
If you need a tripod or lighting equipment, discuss its use with the location before the outing and avoid obstructing passages. Larger equipment can change the arrangements needed. Booking a guide or photo session does not mean every venue permits the same setup. This itinerary does not provide photographic permissions or authorise drone use.
Agree on deliverables when you want photographs of yourself
Distinguish guidance while you make your own images from a portrait service or a combination of the two. Confirm the agreed number of images, selection process, editing level, delivery date and file formats. Ask about transport, location charges and any proposed marketing use of the photographs. These are service terms to agree in the quotation, rather than automatic outputs from every guided walk.
Send two references that show the style you enjoy and identify the relevant features: natural light, an architectural background or a candid moment. Avoid requiring an exact recreation when access and light differ. Agree on the possibility of changing a stop because of crowds or weather, keeping a good image and a comfortable experience as the priorities.
Select your sequence afterwards
Remove unclear frames and near-duplicates first, then give each selected image a role in the story. Keep an original before editing and verify place names for captions. Do not assign a historical date or architectural label from memory alone; use an authoritative source or information your guide verified. This turns the walk into a sequence you can share, rather than a large folder of similar views.
Photography references and featured-image credit
Aperture, shutter speed and ISO — Sony; Photographing cityscapes — Sony. Featured image: Al-Balad architecture, Francisco Anzola, 3 February 2022, source, CC BY 2.0; resized and compressed to WebP.
Frequently asked questions
Will the guide deliver professional photos of me?
Only if a photography service and its deliverables are expressly agreed in the booking.
Can I bring a tripod?
Check the particular venue and route. It must not obstruct visitors or conflict with site rules.
Continue planning your visit
- Al-Balad Architecture: A Visitor’s Guide to Reading the Streets
- Jeddah Waterfront at Sunset: Choose Your Location Before You Go
- Al-Balad Jeddah Walking Tour: What to Expect and Ask
- One day in Jeddah: heritage and waterfront
Official visitor information and further reading
Book the Historic Jeddah (Al-Balad) tour with Adel Alsulami — 2–4 hours, SAR 500 · Contact Adel for availability and a quote
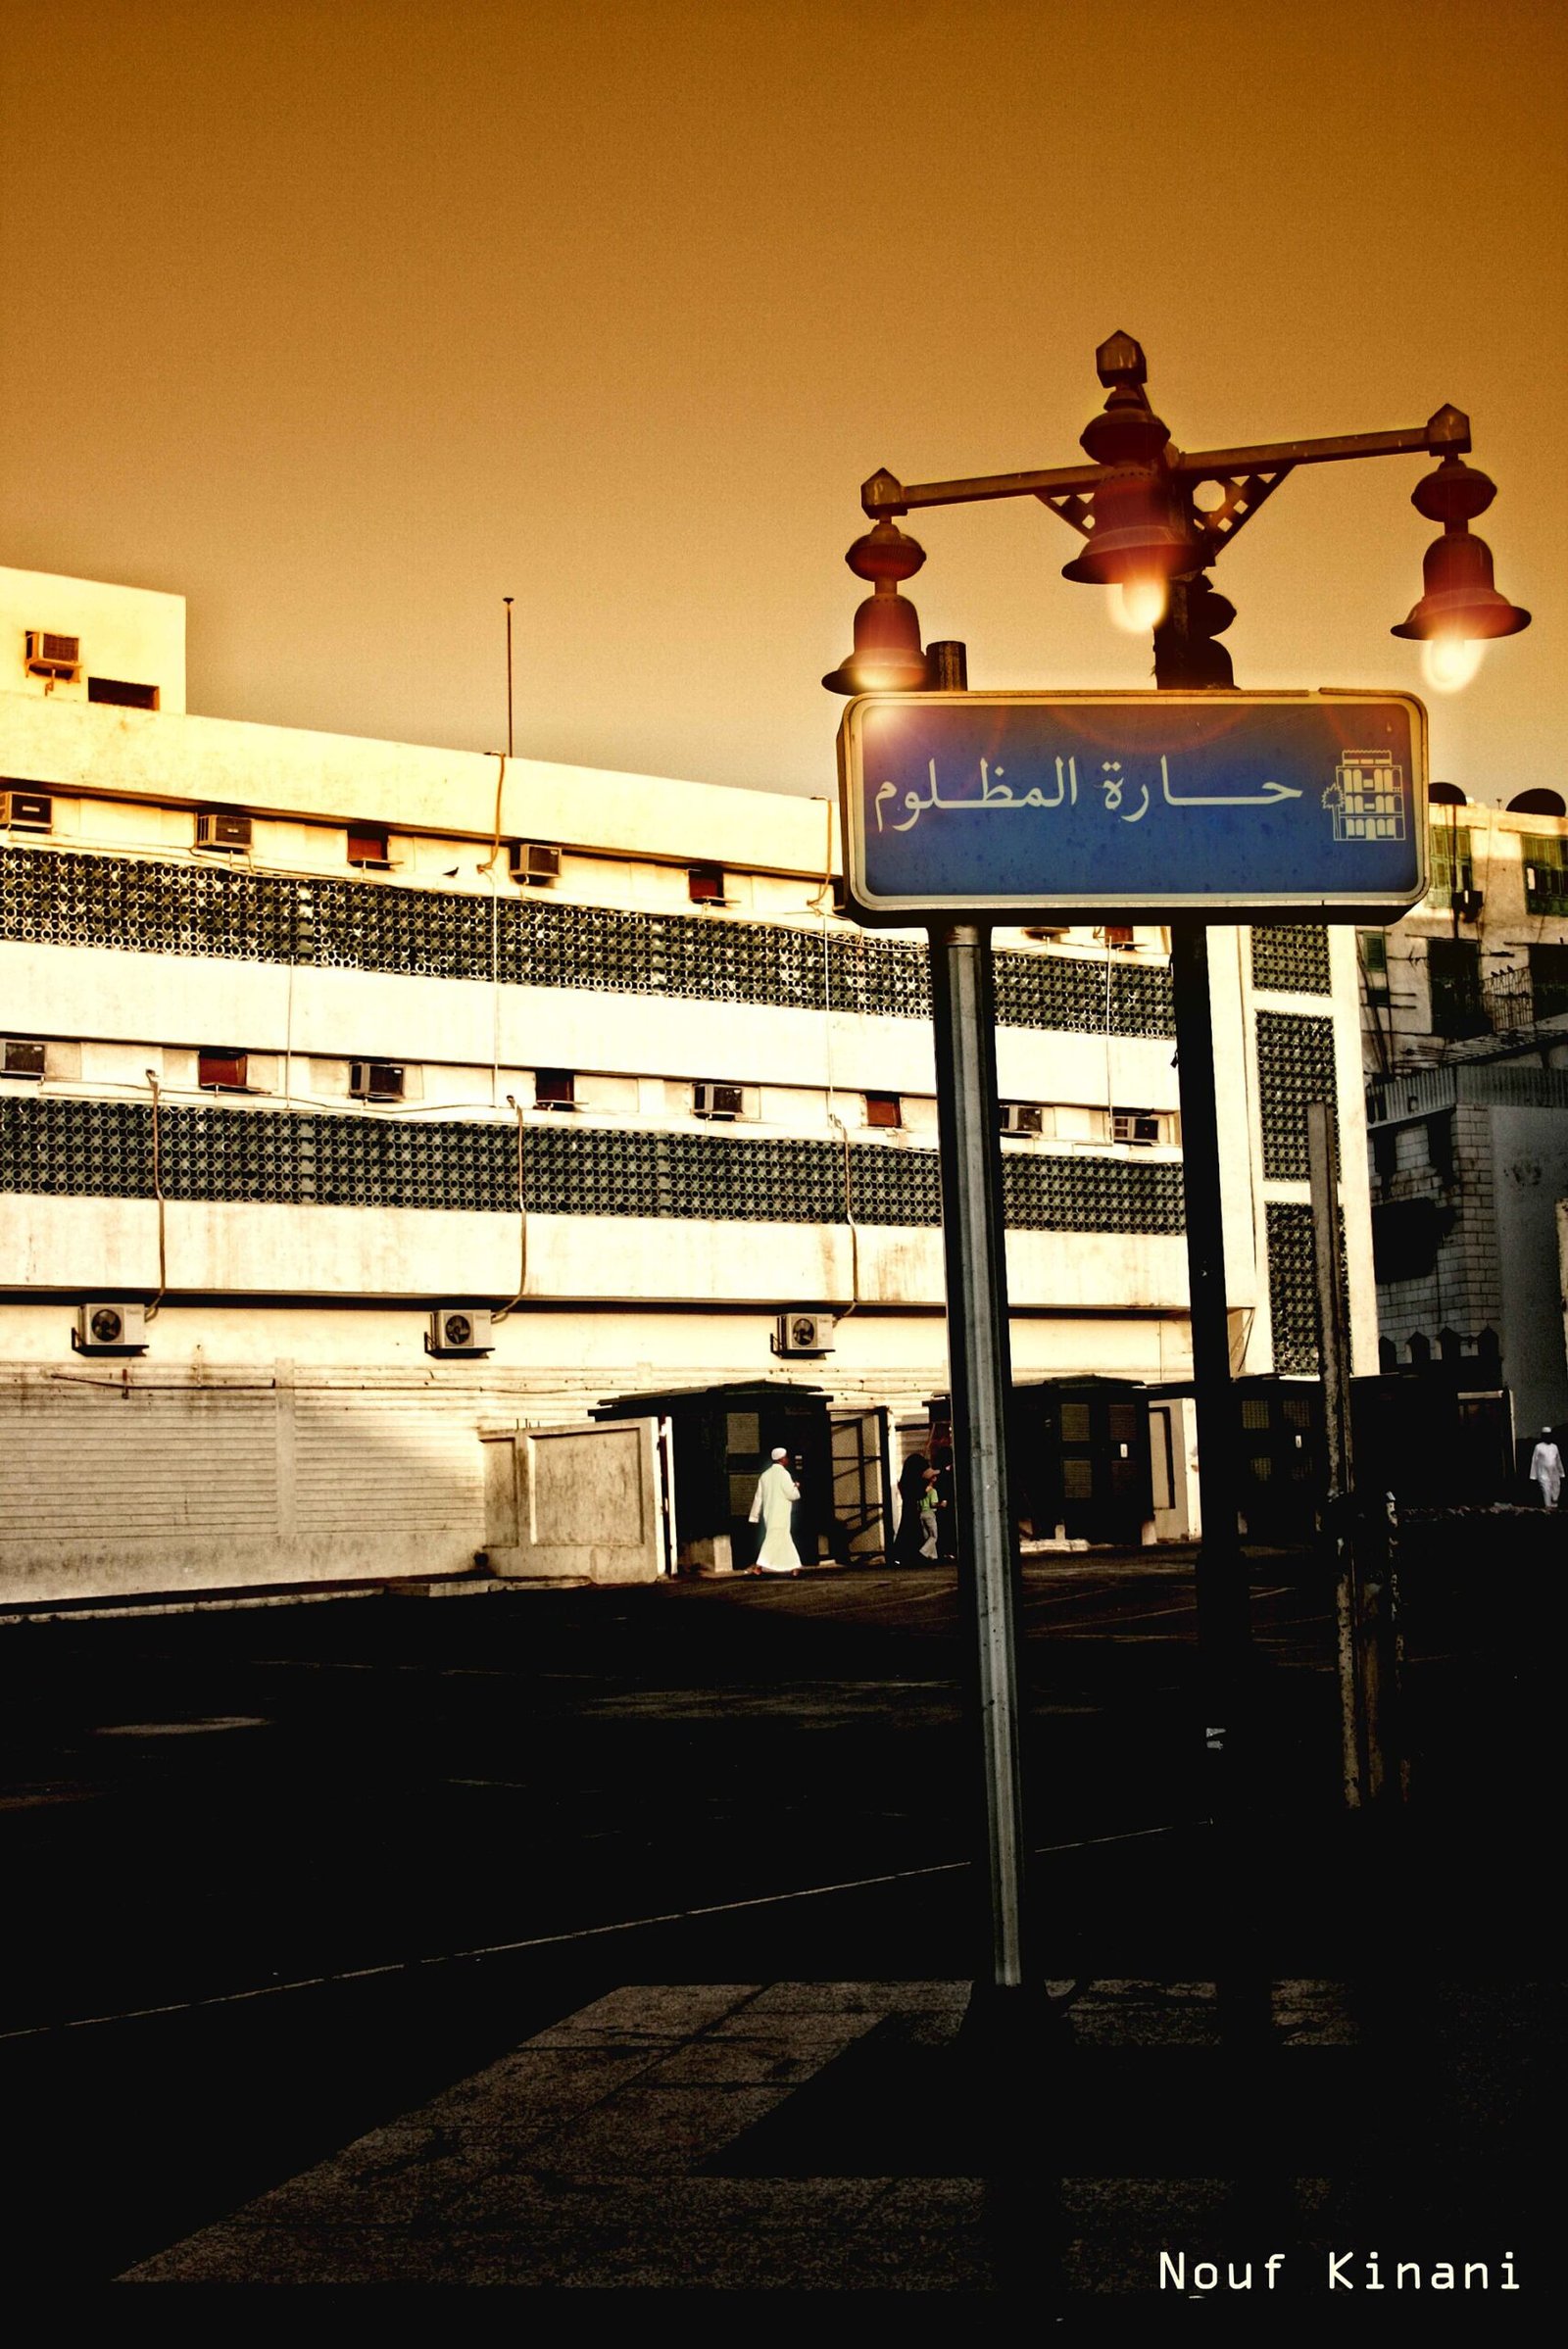
Cover: Nouf Kinani / Wikimedia Commons, CC BY 2.0.
Planning a visit? Meet Adel Alsulami, your licensed Jeddah tour guide and discuss a private itinerary around your interests.